Part 1: Create a Webhook.
Log into your Zapier account and start by creating a new Zap.
You will then need to set your zaps trigger. For us, this will be "Webhooks by Zapier". (This is a premium zap, so it does require a paid plan)
Select the Catch Hook option, as this will structure your data in a way that makes it far more usable.

The next step will be to “Set up trigger”, this will ask you if you would like to pick off a child key. As this is not required, it can be ignored, so you can continue to the next step.
This next step, “test trigger” will generate a webhook URL that will be used to send Data from REI BlackBook to Zapier.

Part 2: Add webhook to REI BlackBook to send data to Zapier
You must log in to your REI BlackBook account for the next stage. Workflows allow for certain automation functions to happen within REI. For this example, we are going to use a new lead. When a form is submitted in REI, you can choose the workflow that will be run on submission.
Navigate to your workflows and find the one you want to edit. You want to add a new step to this workflow. Ideally, this step should be added before any delay steps and after any field update steps. For the new step, select Webhook.

This will add a new step that will look like the image below with a space for a URL. This is where you will copy the URL from zapier and paste it so that you can send information out from REI BlackBook to Zapier each time the workflow is run.

Once you have added your URL, you can navigate down to the advanced settings.
This will open up a window and give you an option of what fields you would like to send with the webhook. You can send all fields. However, this would add unnecessary bloat.
We will send through the name and email address for our use case. Select these options and then click save.
The next step will be to send some test data to Zapier from REI BlackBook to ensure that the webhook is working as intended. You can do this by clicking on the test webhook button. You can select any contact from here and then select "test webhook" to send that data off. Make sure that the contact has the name and email fields populated.

Once you have sent the test data from REI BlackBook, you can navigate back to your Zapier account. It is now time to select the test trigger button.
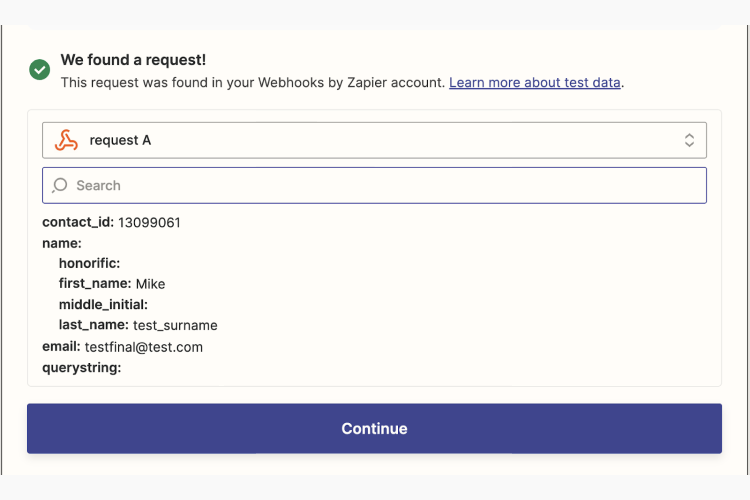
If you have set up everything correctly, you should receive the results below, which are fields that you can then use from your webhook from now on.
Part 3: Setup your Slack Channel
Now that we are receiving the data, we can move on to the next step of sending this data to slack as a notification. Start by creating a new channel in your Slack that you want your notifications to be sent to. Example REI-Notifications or New Leads
Once your channel has been created this is all that is required on the slack side. However, if you would like to tag specific people in these messages so they get "pinged" when there is a new lead you can do this as long as you have their unique ID.
To get this, click on a person and view their profile.
Once you are in their profile, click on the 3 dots for more options and then at the bottom, click "copy member ID" save this ID for each person you would like to tag in Slack.

Part 4: Configure Zapier to send data to Slack channel
The final Part of the setup is to connect Zapier to Slack so that a message is sent to the channel each time the webhook is activated within REI BlackBook.
The next step will be to add an action to your Zap. If you type in Slack, it will show. You can then select this and proceed to the setup.
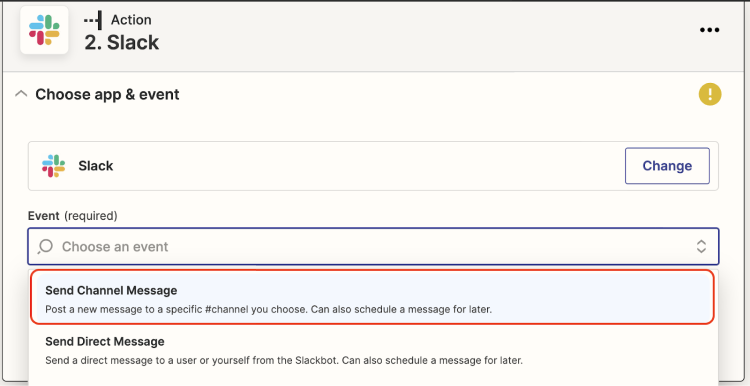
For Event type, you will select "Send Channel Message."
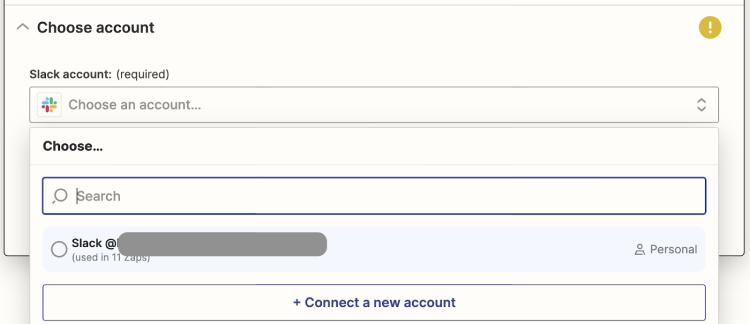
Then you need to select the Slack account you are going to use. If yours does not appear, then select "Connect a new account" and follow the prompts to connect your account and then select it and proceed.
You then must select the channel you want to send this message to. This will be the channel that you created in the previous section. Alternatively, you can send these notifications to any other channel that you have in your Slack account. For this example, we will be using the rei-notification channel.
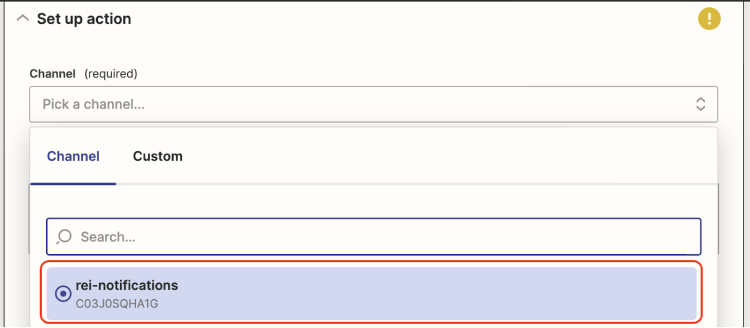
Once you have selected the channel, you then create your message.
In here, you can include any data you sent to Zapier from REI BlackBook.
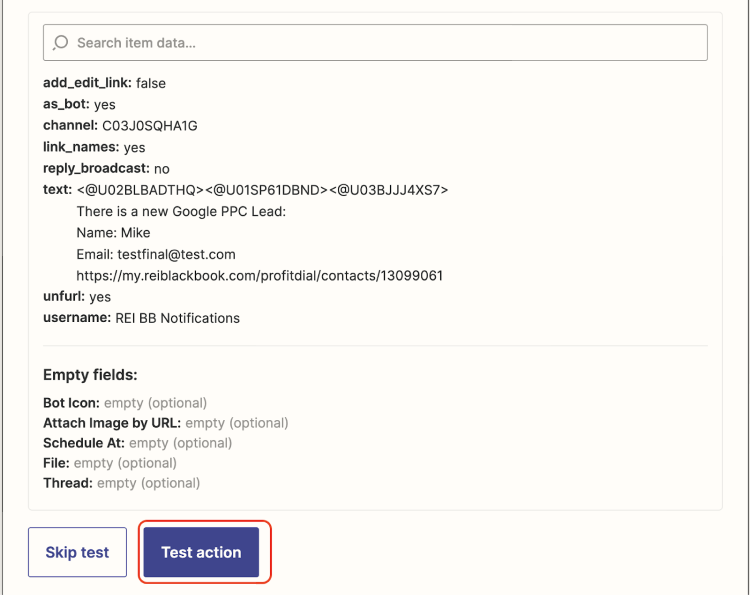
This is also where you will set up notification pings for. For this, you will use those unique IDs of users you recorded in the following manner. <@unique-ID> do this for each person you want to be notified, as seen below.
You can create your message and add the dynamic values from REI BlackBook.
The contact ID variable is sent through automatically, and you can use it to create a link to the lead in REI Black Book, as seen in the example below.
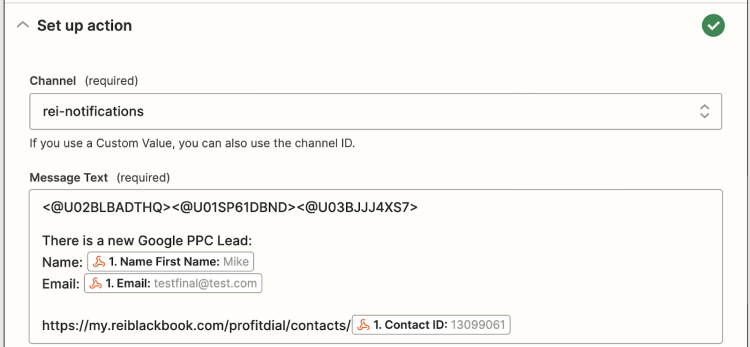
You can then name the Bot. This is just the name that will be shown when the message is sent into the channel. You can call it REI BB Notification, or something like Google Ad Leads if you want to use one channel for all notifications but segment them differently.
Do not include the link to the Zap.
Finally, you can use Test action, which will send a test message to your slack channel so you can make sure it is all working as intended and make any edits that might be required.
